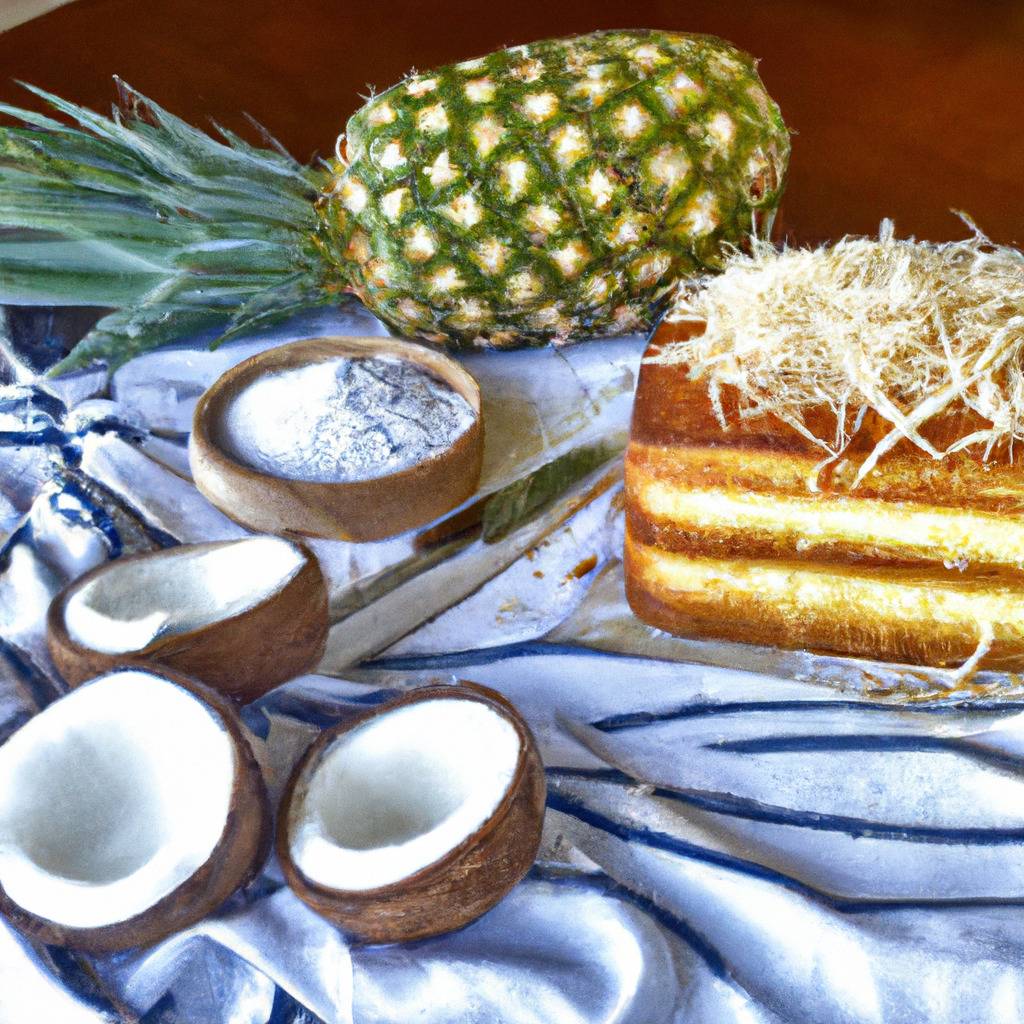
Coconut and pineapple cake
- For 8 people
- Preparation time (dont cuisson) : 60 minutes
- Cooking time : 40 minutes
- Difficulty (0 to 5) : 2
Ingredients
- Cake
- All-purpose flour : 2 cups
- Baking powder : 2 teaspoons
- Salt : 1/2 teaspoon
- Unsalted butter (softened) : 1/2 cup
- Granulated sugar : 1 cup
- Eggs : 2
- Coconut milk : 1 cup
- Vanilla extract : 1 teaspoon
- Shredded coconut : 1/2 cup
- Crushed pineapple : 1/2 cup
- Frosting
- Cream cheese (softened) : 8 ounces
- Unsalted butter (softened) : 1/2 cup
- Powdered sugar : 3 cups
- Vanilla extract : 1 teaspoon
- Shredded coconut : 1/2 cup

The AI that generated this image will never know the flavor of this delicious recipe. But you can :-)
Steps
- Preheat the oven to 350°F (175°C). Grease and flour a 9-inch round cake pan.
- In a medium bowl, whisk together the flour, baking powder, and salt. Set aside.
- In a large mixing bowl, cream together the softened butter and granulated sugar until light and fluffy.
- Beat in the eggs, one at a time, followed by the coconut milk and vanilla extract.
- Gradually add the dry ingredients to the wet ingredients, mixing until just combined.
- Fold in the shredded coconut and crushed pineapple.
- Pour the batter into the prepared cake pan and smooth the top with a spatula.
- Bake in the preheated oven for 40 minutes or until a toothpick inserted into the center comes out clean.
- Remove the cake from the oven and let it cool in the pan for 10 minutes. Then transfer it to a wire rack to cool completely.
- Frosting
- In a mixing bowl, beat the softened cream cheese and butter until creamy.
- Gradually add the powdered sugar and vanilla extract, beating until smooth and well combined.
- Spread the frosting evenly over the cooled cake.
- Sprinkle the shredded coconut on top of the frosting.
Tips
- Make sure the butter and cream cheese are softened before starting the recipe.
- You can toast the shredded coconut before sprinkling it on top of the cake for added flavor.
Information
- This coconut and pineapple cake is perfect for any occasion, especially during the summer months.
- Store any leftovers in an airtight container in the refrigerator for up to 3 days.
This recipe has been generated by an AI, six times: once for each language. So it's highly likely that you'll see differences between the versions. Enjoy!
Recipe created on January 11, 2024, with the assistance of gpt-3.5-turbo, published by Gribiche under their responsibility but without any culinary guarantee or even coherence.
If you notice an error, you can:
- Welcome your emotions, then let them go,
- Report the error on a postcard (the address is in the legal notices page)