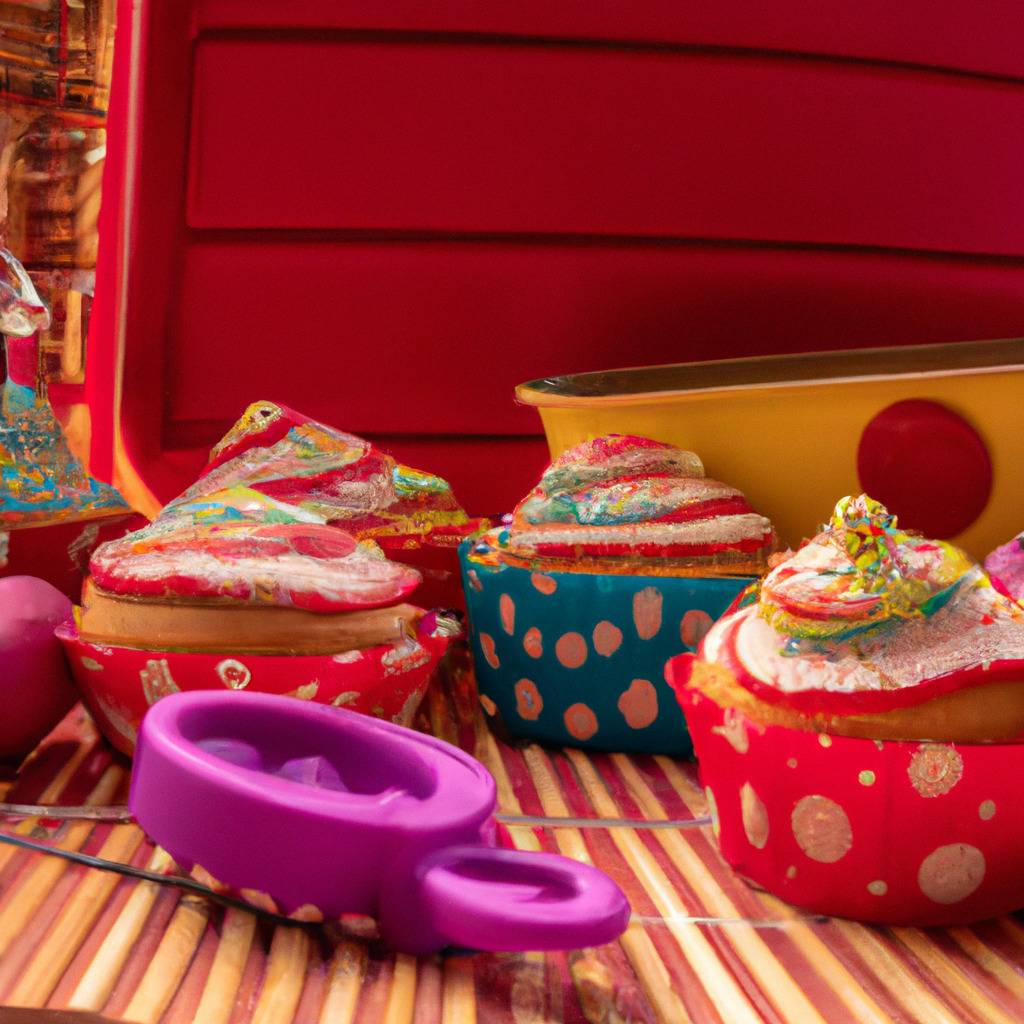
Vanilla cupcakes with colored icing
- For 12 people
- Preparation time (dont cuisson) : 60 minutes
- Cooking time : 20 minutes
- Difficulty (0 to 5) : 2
Ingredients
- Cupcakes
- All-purpose flour : 1/2 cups
- Baking powder : 1/2 teaspoons
- Salt : 1/4 teaspoon
- Unsalted butter (softened) : 1/2 cup
- Granulated sugar : 1 cup
- Eggs : 2
- Vanilla extract : 1 teaspoon
- Milk : 1/2 cup
- Icing
- Confectioners' sugar : 2 cups
- Unsalted butter (softened) : 1/2 cup
- Milk : 2 tablespoons
- Vanilla extract : 1 teaspoon
- Food coloring (optional) : 1 drop

The AI that generated this image will never know the flavor of this delicious recipe. But you can :-)
Steps
- Preheat the oven to 350°F (175°C) and line a muffin tin with cupcake liners.
- In a medium bowl, whisk together the flour, baking powder, and salt.
- In a separate large bowl, cream together the softened butter and granulated sugar until light and fluffy.
- Beat in the eggs, one at a time, followed by the vanilla extract.
- Gradually add the dry ingredients to the wet ingredients, alternating with the milk. Begin and end with the dry ingredients, mixing until just combined.
- Divide the batter evenly among the cupcake liners, filling each about 2/3 full.
- Bake for 18-20 minutes, or until a toothpick inserted into the center of a cupcake comes out clean.
- Remove from the oven and let the cupcakes cool completely before frosting.
- Icing
- In a large bowl, beat the softened butter until creamy.
- Gradually add the confectioners' sugar, milk, and vanilla extract. Beat until smooth and well combined.
- If desired, add a drop of food coloring and mix until the desired color is achieved.
- Once the cupcakes are completely cooled, frost them with the colored icing using a piping bag or a spatula.
- Decorate with sprinkles or other toppings, if desired.
Tips
- Make sure all the ingredients are at room temperature for best results.
- Sift the confectioners' sugar before adding it to the icing to avoid lumps.
- Experiment with different food coloring combinations to create unique colored icing.
Information
- These vanilla cupcakes can be stored in an airtight container at room temperature for up to 3 days.
- Feel free to get creative with the decorations and toppings to match the occasion.
This recipe has been generated by an AI, six times: once for each language. So it's highly likely that you'll see differences between the versions. Enjoy!
Recipe created on January 11, 2024, with the assistance of gpt-3.5-turbo, published by Gribiche under their responsibility but without any culinary guarantee or even coherence.
If you notice an error, you can:
- Welcome your emotions, then let them go,
- Report the error on a postcard (the address is in the legal notices page)